 Photograph by John Fisher
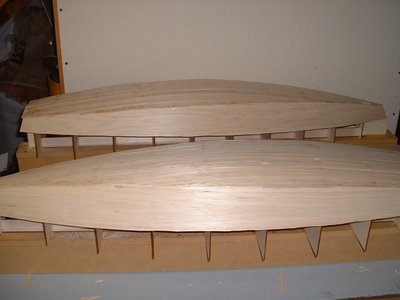
Photograph by John Fisher
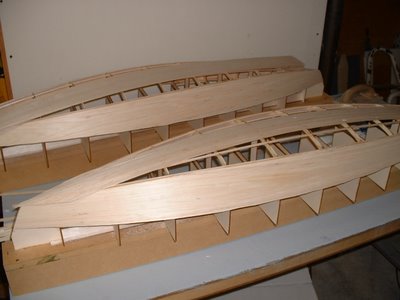
Since it was requested here are a couple of photo's of planking the
bottom of my two wood/glass stars. photo 01 is the bottom of the first
star about half way done. Planks are 1/16 X 3/8 balsa. These were cut
from a 48" long sheet. Weigh your balsa before buying it. I would not
use a 3 X 48 sheet that weighed in at more than 22g. It takes 3 sheets
to cover the bottom and you could add another 1 to 1.5 oz by using
heavy balsa.
I started in the middle and worked to the outside. I sprayed the
shadows with kicker, then put down a plank, then added super fast CA to
hold it down. If the kicker was not dry enough it would cure before it
wicked into the joint which would cause the next plank to not fit
correctly. I had some variation in the planks, but once they were
glassed the bottom smoothed out quite a bit.
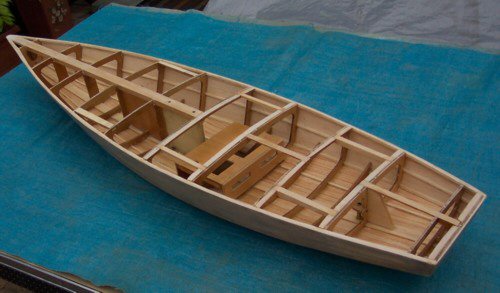
If I were to do another one I would add the half frames. I will be
adding them to the DXF files in the next couple of days for anyone
wishing to cut a set.
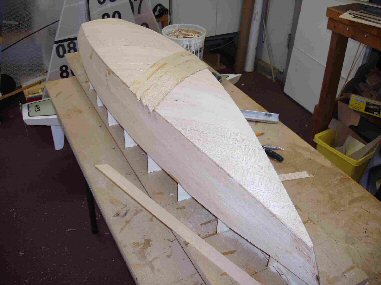
Picture shows the bottom after it was completely planked. On the
second boat I got a nice pattern on the bottom since the balsa sheets
had different grain structure. I sanded the sided flush and got the
bottom relatively smooth, but not perfect. With the balsa planks they
were flexible and if sanded too much you get thin spots at the frames.
The glass smoothed out inperfections. If doing a hard wood bottom the
planks should fit better than what I did with the balsa.
====
From: "John Fisher"
Subject: Photo's of star 45 double diagonal planked
Here are some photo's of Sherwood Jones Star 45 with double diagonal bottom planking. He used two layers of 1/16 planking. The planks are 1" wide. He then covered it with 1 ½oz glass. Weight is about the same as mine with the 1/16 longitudinal planks and two layers of 3.2 oz glass. Just goes to show that there are multiple ways to solve a problem.